
Chapter 2
Ground Operations
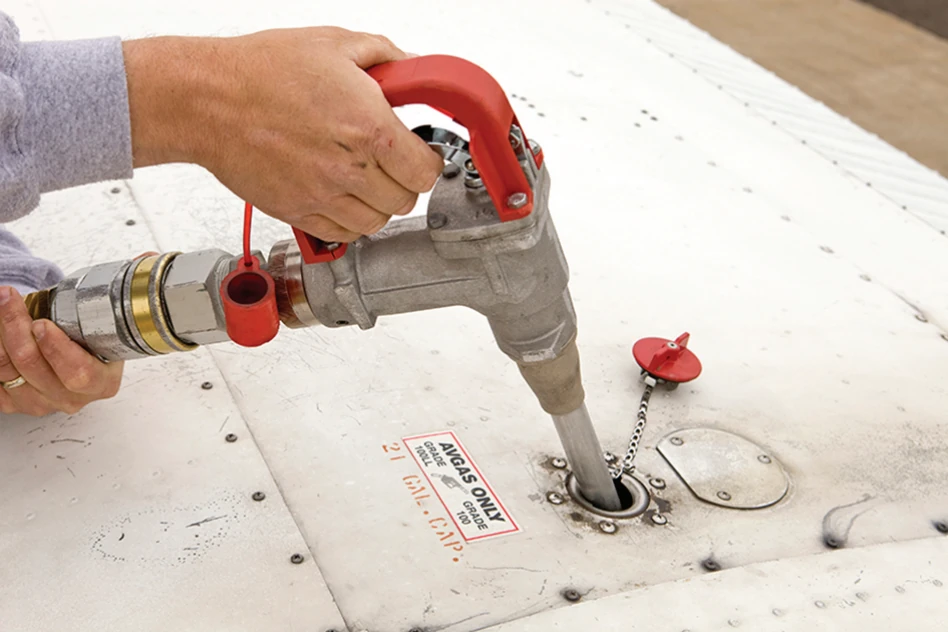
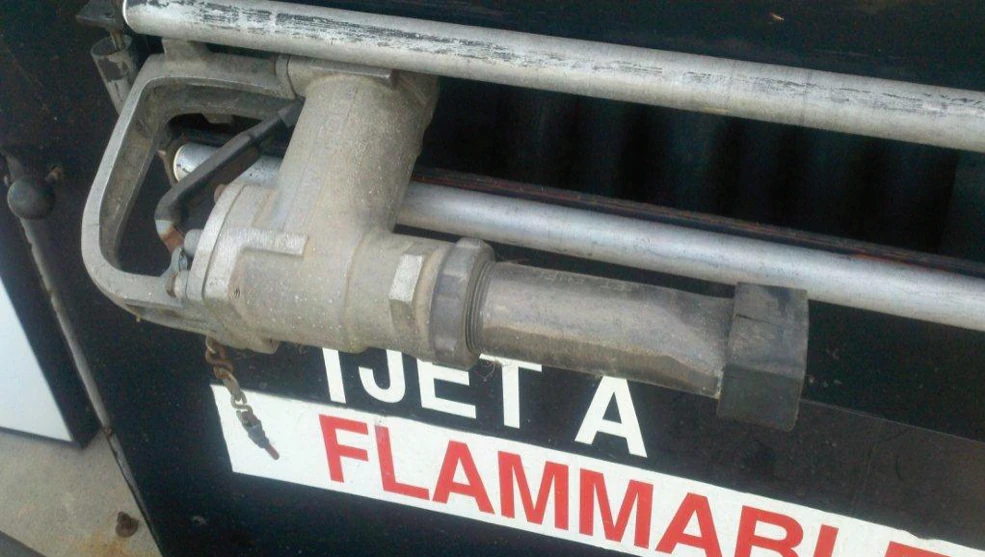
Using the proper, approved grade of fuel is critical for safe, reliable engine operation. Without the proper fuel quantity, grade, and quality, the engine(s) will likely cease to operate. Therefore, it is imperative that the pilot visually verify that the airplane has the correct fuel quantity for the intended flight plus adequate and legal reserves, as well as inspect that the fuel is of the proper grade and that the quality of the fuel is acceptable. The pilot should always ensure that the fuel caps have been securely replaced following each fueling.
Many airplanes experience sensitivity to attitude when fueling for maximum capacity. Nosewheel or main landing gear strut extension, both high as well as low, and the slope of the ramp can significantly alter the attitude of the aircraft and therefore the fuel capacity. Always positively confirm the fuel quantity indicated on the fuel gauges by visually inspecting the level of fuel in each tank.
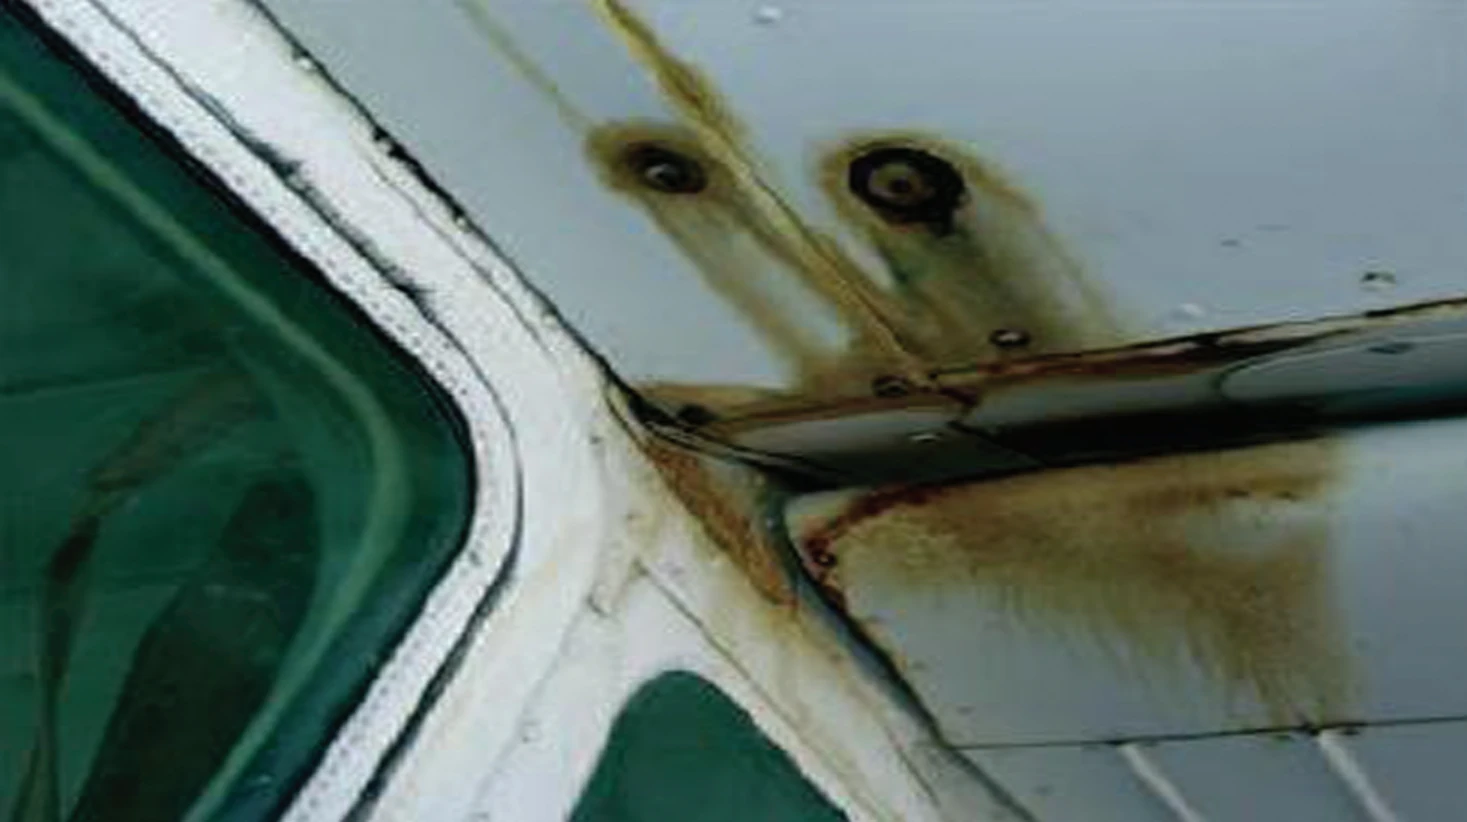
The pilot should be aware that fuel stains anywhere on the wing or any location where a fuel tank is mounted warrants further investigation—no matter how old the stains appear to be. Fuel stains are a sign of probable fuel leakage. On airplanes equipped with wet-wing fuel tanks, evidence of fuel leakage can be found along rivet lines. [Figure 2-12]
Checking for water and other sediment contamination is a key preflight item. Water tends to accumulate in fuel tanks from condensation, particularly in partially filled tanks. Because water is heavier than fuel, it tends to collect in the low points of the fuel system. Water can also be introduced into the fuel system from deteriorated gas cap seals exposed to rain or from the supplier’s storage tanks and delivery vehicles. Sediment contamination can arise from dust and dirt entering the tanks during refueling or from deteriorating rubber fuel tanks or tank sealant. Deteriorating rubber from seals and sealant may show up in the fuel sample as small dark specks.
The best preventive measure is to minimize the opportunity for water to condense in the tanks. If possible, the fuel tanks should be completely filled with the proper grade of fuel after each flight, or at least filled after the last flight of the day. The more fuel that is in the tanks, the less room there is for condensation to occur. Keeping fuel tanks filled is also the best way to slow the aging of rubber fuel tanks and tank sealant.
Sufficient fuel should be drained from the fuel strainer quick drain and from each fuel tank sump to check for fuel grade/color, water, dirt, and odor. If water is present, it is usually in bubble or bead-like droplets, different in color (usually clear, sometimes muddy yellow to brown with specks of dirt), in the bottom of the sample jar. In extreme water contamination cases, consider the possibility that the entire fuel sample, particularly if a small sample was taken, is water. If water is found in the first fuel sample, continue sampling until no water and contamination appears. Significant and/or consistent water, sediment or contaminations are grounds for further investigation by qualified maintenance personnel. Each fuel tank sump should be drained during preflight and after refueling. The order of sumping the fuel system is often very important. Check the AFM/POH for specific procedures and order to be followed.
Checking the fuel tank vent is an important part of a preflight assessment. If outside air is unable to enter the tank as fuel is drawn into the engine, the eventual result is fuel starvation and engine failure. During the preflight assessment, the pilot should look for signs of vent damage and blockage. Some airplanes utilize vented fuel caps, fuel vent tubes, or recessed areas under the wings where vents are located. The pilot should use a flashlight to look at the fuel vent to ensure that it is free from damage and clear of obstructions. If there is a rush of air when the fuel tank cap is cracked, there could be a serious problem with the vent system.
Aviation oils are available in various single/multi-grades and mineral/synthetic-based formulations. It is important to use the approved and recommended oil for the engine at all times. The oil not only acts as a lubricant but also as a medium to transfer heat as a result of engine operation and to suspend dirt, combustion byproducts, and wear particles between oil changes. Therefore, the proper level of oil is required to ensure lubrication, effective heat transfer, and the suspension of various contaminants. The oil level should be checked during each preflight, rechecked with each refueling, and maintained to prevent the oil level from falling below the minimum required during engine operation.
During the preflight assessment, if the engine is cold, oil levels on the oil dipstick show higher levels than if the engine was warm and recently shutdown after a flight. When removing the oil dipstick, care should be taken to keep the dipstick from coming in contact with dirty or grimy areas. The dipstick should be inspected to verify the oil level. Typically, piston airplane engines have oil reservoirs with capacities between four and eight quarts, with six quarts being common. Aside from the level of oil, the oil’s color also provides an insight as to its operating condition. Oils darken in color as the oil operating hours increase—this is common and expected as the oil traps contaminants. However, oils that rapidly darken in the first few hours of use after an oil change may indicate engine cylinder problems. Piston airplane engines consume a small amount of oil during normal operation. The amount of consumption varies on many factors; however, if consumption increases or suddenly changes, qualified maintenance personnel should investigate
It is suggested that the critical aspect of fuel and oil not be left to line service personnel without oversight of the pilot responsible for flight. While line personnel are aviation professionals, the pilot is responsible for the safe outcome of any flight. During refueling or when oil is added to an engine, the pilot should monitor and ensure that the correct quantity, quality, and grade of fuel and oil is added and that all fuel and oil caps have been securely replaced.
Landing Gear, Tires, and Brakes
The landing gear, tires, and brakes allow the airplane to maneuver from and return to the ramp, taxiway, and runway environment in a precise and controlled manner. The landing gear, tires, and brakes should be inspected to ensure that the airplane can be positively controlled on the ground. Landing gear on airplanes varies from simple fixed gear to complex retractable gear systems.
Fixed landing gear is a gear system in which the landing gear struts, tires, and brakes are exposed and lend themselves to relatively simple inspection. However, more complex airplanes may have retractable landing gear with multiple tires per landing gear strut, landing gear doors, over-center locks, springs, and electrical squat switches. Regardless of the system, the pilot should follow the AFM/POH during inspection to determine that the landing gear is ready for operation.
On many fixed-gear airplanes, inspection of the landing gear system can be hindered by wheel pants, which are covers used to reduce aerodynamic drag. It is still the pilot’s responsibility to inspect the airplane properly. A flashlight helps the pilot in peering into covered areas. On low-wing airplanes, covered or retraceable landing gear presents additional effort required to crouch below the wing to inspect the landing gear properly.
The following provides guidelines for inspecting the landing gear system; however, the AFM/POH should be the pilot’s reference for the appropriate procedures.
- The pilot, when approaching the airplane, should look at the landing gear struts and the adjacent ground for leaking hydraulic fluid that may be coming from struts, hydraulic lines from landing gear retraction pumps, or from the braking system. Landing gear should be relatively free from grease, oil, and fluid without any undue amounts. Any amount of leaking fluid is unacceptable. In addition, an overview of the landing gear provides an opportunity to verify landing gear alignment and height consistency.
- All landing gear shock struts should also be checked to ensure that they are properly inflated, clean, and free from hydraulic fluid and damage. All axles, links, collars, over-center locks, push rods, forks, and fasteners should be inspected to ensure that they are free from cracks, corrosion, and rust, and are in an airworthy condition.
- Tires should be inspected for proper inflation, an acceptable level of remaining tread, and normal wear pattern. Abnormal wear patterns, sidewall cracks, and damage, such as cuts, bulges, imbedded foreign objects, and visible cords, render the tire unairworthy. For airplanes that are flown by more than one pilot, what happened to the tires on previous flights becomes a significant unknown. Therefore, when possible, the airplane should be moved slightly to allow for evaluation of the complete tire circumference.
- Wheel hubs should be inspected to ensure that they are free from cracks, corrosion, and rust, that all fasteners are secure, and that the air valve stem is straight, capped, and in good condition.
- Brakes and brake systems should be checked to ensure that they are free from rust and corrosion and that all fasteners and safety wires are secure. Brake pads should have a proper amount of material remaining and should be secure. All brake lines should be secure, dry, and free of signs of hydraulic leaks, and devoid of abrasions and deep cracking.
- On tricycle gear airplanes, a shimmy damper is used to damp oscillations of the nose gear and should be inspected to ensure that it is securely attached, is free of hydraulic fluid leaks, and is in overall good condition. Some shimmy dampers do not use hydraulic fluid and instead use an elastomeric compound as the dampening medium. Nose gear links, collars, steering rods, and forks should be inspected to ensure the security of fasteners, minimal free play between torque links, crack-free components, and for proper servicing and general condition.
- On some conventional gear airplanes, those airplanes with a tailwheel or skid, the main landing gear may have bungee cords to help in absorbing landing loads and shocks. The bungee cords must be inspected for security and condition.
- Where the landing gear transitions into the airplane’s structure, the pilot should inspect the attachment points and the airplane skin in the adjacent area—the pilot needs to inspect for wrinkled or other damaged skin, loose bolts, and rivets and verify that the area is free from corrosion.